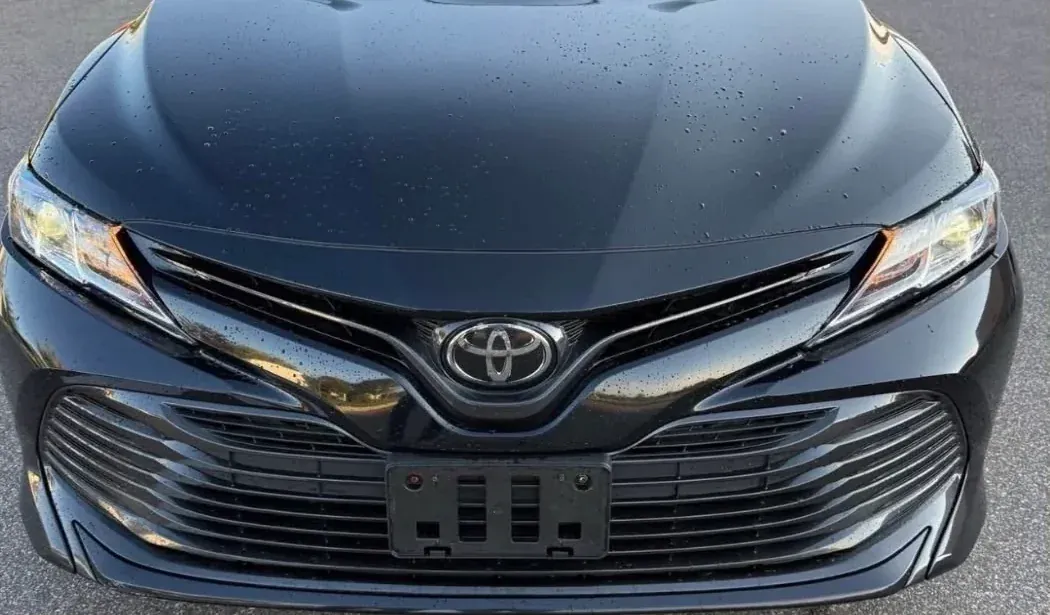
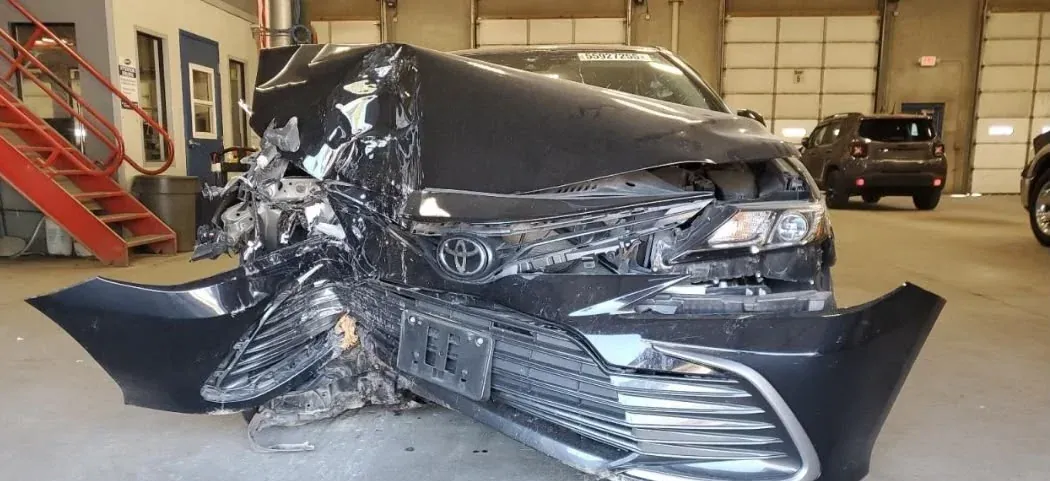
The damage: a front corner pushed into the structure
The impact landed on one front corner and kept going. The hood was creased back from its leading edge, the headlight assembly was broken out of its mounts, the grille and upper bumper bar were shattered, and the bumper cover had been pulled away from the car entirely. Damage that reaches this far past the cover is never only cosmetic — the energy has already traveled into the radiator support and the mounting points behind it.
That is why this car was photographed with the cover off before an estimate went anywhere. A front hit on a unibody sedan hides most of its cost behind plastic: bent core support, cracked headlight tabs, a collapsed absorber, deformed rails. Writing the repair from a photograph of the outside would have missed most of it, and the supplement would have arrived weeks later with the car already in pieces. Teardown first is not extra work; it is the only version of the estimate that stays true.
How the repair was put back together
Every panel on a modern Camry has a factory position, and the only honest way to find out whether the car still holds those positions is to measure it. The front structure was measured against factory specification before any straightening began and again once the pulling was finished, so the record shows where the car started and where it ended. Parts bent past safe repair were replaced rather than dressed up.
From there the work runs in a fixed order: structure first, then panel fit, then paint, then reassembly. Getting the hood and fender aligned before refinishing matters, because a panel adjusted after paint is a panel with chipped edges. The refinish itself was mixed to the car’s paint code, sprayed in our downdraft booth, and blended into the adjacent panels so no edge shows where new paint meets old.
- Bumper cover, grille, and headlight assembly removed for a full damage blueprint
- Front structure laser-measured against factory specification, before and after
- Crushed mounting points and impact bar replaced with OEM parts
- Hood and fender aligned to even gaps before any color went on
- Color mixed by paint code, sprayed in the downdraft booth, blended into neighboring panels
- Lights aimed, panels reassembled, and the car road-tested before pickup
What a good front-end repair looks like when you get the keys
Stand at the front bumper and look down the side of the car with the light behind you. The gap between hood and fender should stay the same width from the windshield to the headlight, and the reflection running along the body line should be straight rather than wavy. Front-end repairs that were rushed show up here first — a gap that opens toward the front, or a highlight that bends where new metal meets old.
Then look at color in daylight rather than under shop lights. A blended repair should be invisible from every angle, including the low sun that turns metallic paint into a mirror. This Camry was handed back on the timeline quoted in its estimate, with the refinish work covered for as long as the owner keeps the car. If anything about the finish ever moved, peeled, or lost gloss, it would come back to us and not to the customer.