What happens during a collision repair, step by step?
Quick answer
A collision repair runs in stages: check-in and documentation, teardown to expose hidden damage, a written repair plan and insurance approval, parts ordering, structural measuring and repair, panel repair or replacement, corrosion protection, refinishing in a downdraft booth, reassembly with sensor checks and calibration, then alignment, quality control, and delivery with the paperwork.
Stage 1: check-in, documentation, and a pre-repair scan
The repair starts before anyone picks up a tool. The vehicle is photographed from every angle, and we record the VIN, mileage, paint code, trim level, and any damage that was already there — so nothing gets confused with the crash damage later, by us or by your insurance.
Most late-model vehicles also get a pre-repair health scan. That reads every control module for fault codes and tells us what the impact disturbed before the car is even opened up: a seatbelt pretensioner that fired, a radar module reporting a blockage, a ride-height sensor out of range, an airbag circuit that will need attention.
This is also when the claim file gets opened, the paying party is confirmed, and you get a timeline in writing. If the car is not drivable, this stage starts with a tow rather than a drop-off.
Stage 2: teardown and the repair blueprint
Teardown is where the real estimate gets written. The damaged area comes apart — cover, lamps, liners, brackets, reinforcement bar — until every damaged part is visible, measurable, and photographable. A camera looking at the outside of a bumper cover cannot see a cracked absorber, a bent radiator support, or a radar bracket pushed out of position.
From what teardown exposes, we build a blueprint: every part number, every operation, and the manufacturer’s published repair procedures for that exact VIN. Procedures matter because two vehicles that look identical can call for different weld types, different sectioning locations, and different calibration requirements depending on year, trim, and options.
Hidden damage goes to your insurance as a documented supplement, with photos, before any of it is repaired. Handling that once at the start is far faster than discovering it three days in and stopping the job to wait for an adjuster.
Stage 3: structure first, then panels
Structural work always comes before cosmetic work, because everything downstream depends on the car being the right shape. If the underbody is off by a few millimeters, doors will not gap evenly, glass will not seal, suspension geometry will not come into alignment, and no amount of paint will hide any of it.
The vehicle is anchored to a frame bench and measured against factory specifications in three dimensions. Where structure has moved, hydraulic towers pull it back in controlled stages while measurements are taken live, so the pull stops exactly at spec rather than past it. Those numbers are documented before and after.
With the structure back within tolerance, panels are repaired or replaced. Repairable metal is worked back with hammers, dollies, and controlled pulls. Panels that are torn, creased through a body line, or made of a steel grade the manufacturer says must not be straightened or heated are replaced — at the factory seams, or at a section joint the manufacturer specifies for that part.
Stage 4: corrosion protection, primer, and the booth
Every place metal was cut, welded, sanded, or drilled gets its corrosion protection rebuilt. This is the step budget repairs skip, and in Minnesota it is the step that decides whether the panel is still solid in five winters.
- Weld-through primer on mating flanges before the new panel goes on
- Epoxy primer over every bit of bare metal, inside surfaces included
- Seam sealer applied to duplicate the factory bead, not just smeared over it
- Cavity wax pumped into rails, rockers, and closed sections that were opened
- Factory undercoating and sound deadening restored where it was removed
Stage 5: prep, color, and refinishing
Refinish quality is decided in prep, not in the booth. Body filler is used thin over metal that is already straight, then block sanded until the panel reads flat under a guide coat. Primer goes on, gets sanded, and any low spot that shows up gets corrected before color ever comes out.
Color is matched to the car as it is today, not as it left the factory. Sun and time move every finish, so we read the actual panel with computerized color matching, tint the formula, and spray a test card to check it against your paint in good light before touching the car.
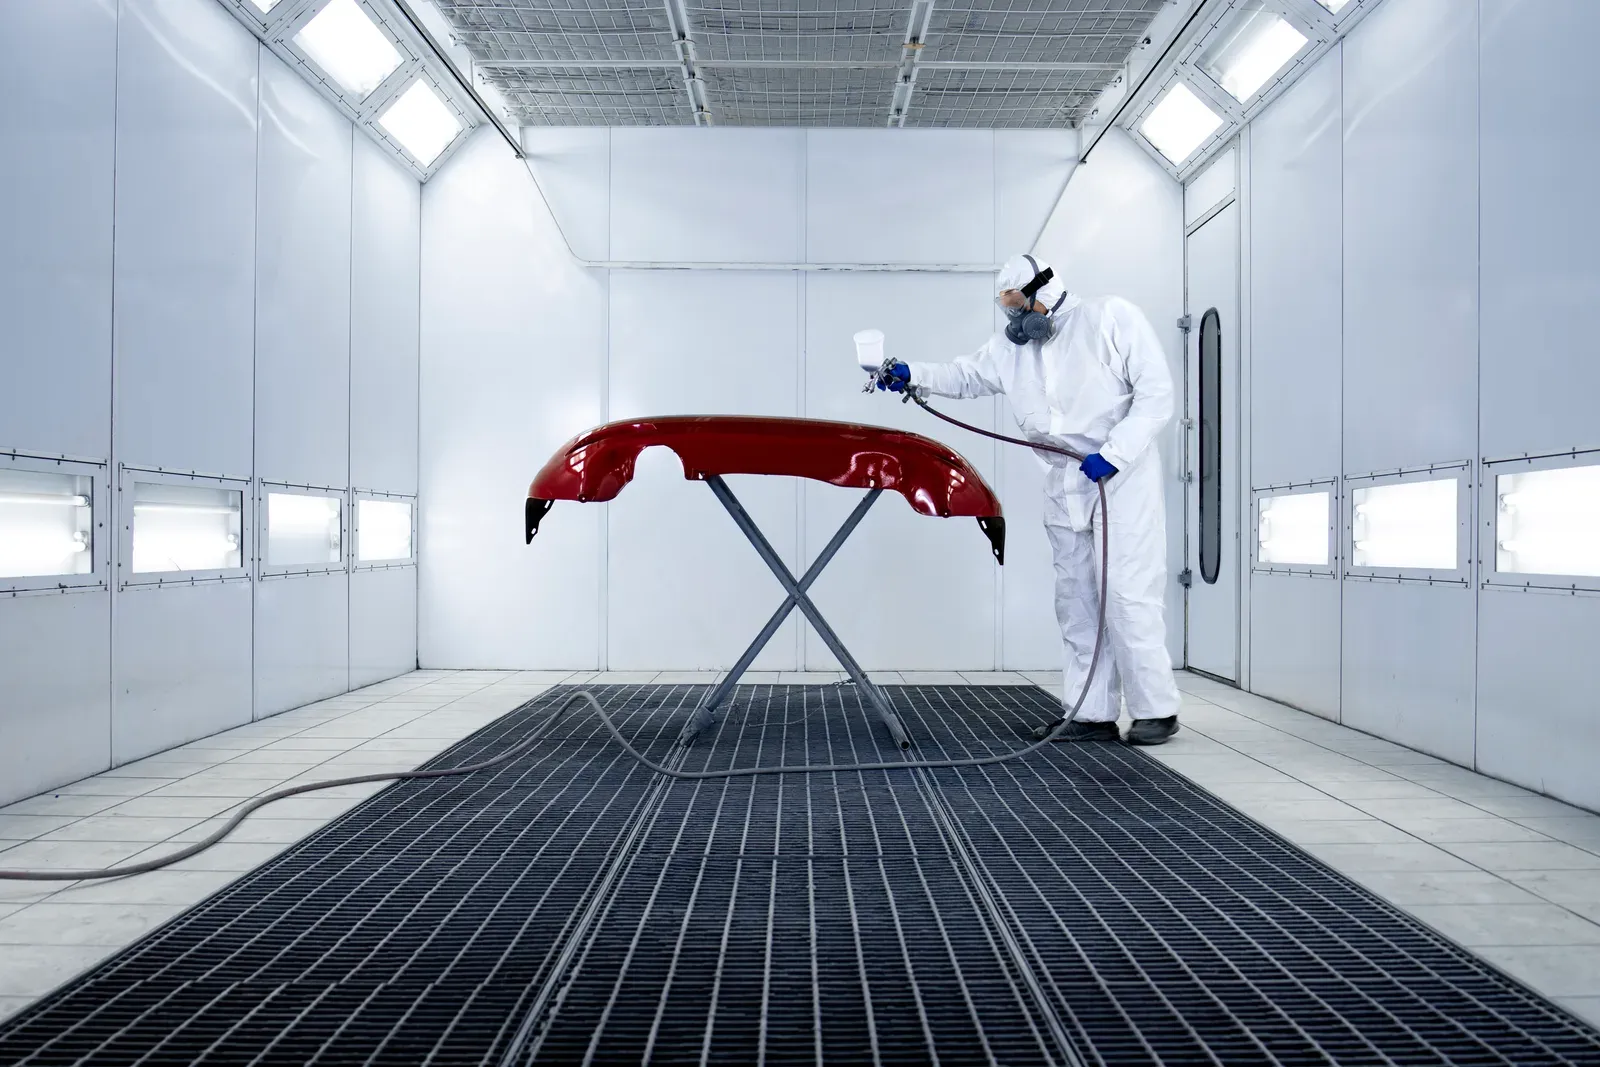
In the downdraft booth, filtered air enters at the ceiling and is pulled down through floor grates, carrying overspray away from the wet panel instead of across it. Base coat is blended into the neighboring panels so there is no edge to see, clear coat goes over the whole area, and the booth bakes the finish to cure it properly.
Stage 6: reassembly, calibration, and quality control
Reassembly puts the car back together — trim, lamps, liners, moldings, emblems, and every sensor returned to its factory position. Cameras and radar modules are reinstalled to specification and function-checked, and where the manufacturer requires a formal calibration after that work, it is written into the repair plan and performed as part of the job.
A post-repair scan confirms no fault codes remain. If suspension components were replaced or the structure was pulled, a wheel alignment follows. The car is then washed, detailed, and road tested.
Last comes a second set of eyes: panel gaps checked against the undamaged side, color checked under different light sources, and every line on the estimate verified as actually done. Only then do we call you.
At delivery you should leave with the paperwork, not just the keys. Ask for it if it is not offered — a shop that measures, documents, and follows manufacturer procedure has no reason to hide any of it, and you will want it if you ever sell the car or pursue a diminished value claim. A complete file should include:
- A final invoice that matches the repair plan line for line
- Before-and-after measurement documentation on any structural repair
- Pre-repair and post-repair scan results
- Photos of the hidden damage that justified each supplement
- Written warranty terms — ours is a lifetime warranty on paint and refinish